Using the LiveAdmin utility
The LiveAdmin utility on LiveWire Virtual lets you view and configure a variety of settings from the LiveAdmin views in the left-hand navigation pane of the utility. To learn more about each of the LiveAdmin views, go to the appropriate section below:
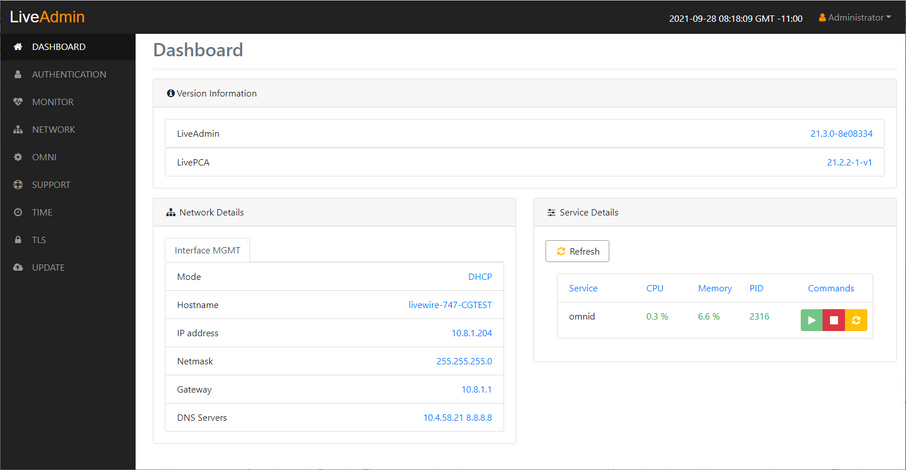
• Dashboard: The Dashboard view provides you with some very basic information about the system. See Dashboard.
• Authentication: The Authentication view lets you change the password for LiveWire Virtual. See Authentication.
• Network: The Network view lets you configure the primary network interfaces network settings and the hostname of the system. See Network.
• Omni: The Omni view lets you enable the Device Management Server (DMS) for the appliance. See Omni.
• Support: The Support view let you download logs from the system that would be helpful in troubleshooting issues. See Support.
• TLS: The TLS view lets you change the self-signed certificates that LiveAdmin and Omnipeek use for HTTPS. See TLS.
• Update: The Update view lets you update the appliance using a software update package. See Update.
• Administrator: The Administrator context menu in the upper right lets you restart LiveWire Virtual, power off LiveWire Virtual or log out from the LiveAdmin utility. See Restart and power off.
IMPORTANT: LiveWire Virtual comes pre-configured to obtain its IP address via DHCP. The IP address is required to configure LiveWire Virtual, as described below. You can obtain the IP address by logging into the DMS as described in Using DMS to manage and configure LiveAction appliances.
NOTE: If an IP address is not assigned to LiveWire Virtual by the DHCP server within two minutes of being connected to the network, LiveWire Virtual defaults to a static address of 192.168.1.21.